
Sauerkrauting?
New words get created all the time. Why not sauerkrauting!
I think the jury remains deadlocked on that one.
Regardless, a few weeks ago we posted a lively demonstration on the wonders of fermentation by the pickling ninja Karla Delong from Mountain Feed and Farm Supply. Anytime you spend that much time on something like fermentation and pickling, or anything for that matter, ninja seems the best descriptor.
She did not, however, wear the cool outfit. But she looked marvelous.
For me, my interest in fermenting stems back to my childhood. I watched my Grandma Florence create a number of tasty items as she canned and pickled various things from the garden. Sauerkraut too. In fact I still have the earthen crock pot she used to make it. Good memories watching her uncover the pot and scrape off the unwanted bits that would collect during the fermentation.
It’s funny the things that stay with you.
Recently I’ve begun to explore this food art form even more, with a few different experiments. Although not a ninja yet, I feel that I learn more each time I give it a try. Luckily the process is easy for the most part. It takes a little diligence and patience, but in the end you will find a healthy and tasty item that can become a staple to your diet. Fermented foods are a good probiotic source, which your gut will thank you for.
Below is one of several recipes we will share in the coming months. This first one is a synthesis of several different recipes I’ve come across over the years. It felt like a good place to start to get your “fermenting” feet wet a little. Alright, maybe not the best metaphor but you get what I mean.
Ready to ferment?
Sauerkraut #1
The most basic of all sauerkraut recipes involves simply cabbage and salt. You can use green or red cabbage. The heads of the cabbage should be firm and relatively fresh.
1) Strip off the outer leaves. Discard any discolored or wilted leaves. Remove the core at the base of the head.
2) Shred the cabbage with a shredding device, food processor or cut it into thin slices with a large knife.
3) One trick I was taught which has been helpful is to bruise the chopped cabbage before putting it into the jar or crock to ferment (see Step 5).
4) There is no exact proper proportion of salt to cabbage. I use about 1 tablespoon for each medium sized head of cabbage. If you are making larger batches, use about 1 cup of salt for every 40 pounds of cabbage. Use sea salt. I have had the fermentation process work well with less salt, but I worry that the sauerkraut might not keep as long after it has fermented if less salt is used.
5) Put the shredded cabbage into a large metal bowl, mix in the sea salt and pound on the shredded cabbage and salt with a potato masher. When the shredded cabbage is a bit limp, it is time to pack it into your fermenting jar.
6) Press the shredded cabbage firmly into the crock or jar you are using. Put a plate or fermentation stones on top to keep the shredded cabbage below the surface of the juice that will form. Add a bit of brine if needed so that the stones or weighted plate stay below the surface of the juice. If you are not using a water seal, cover the top of the jar or crock with cheesecloth or breathable fabric.
***************************
I make enough sauerkraut that I broke down and spent the money on a nice ceramic Gartopf five liter fermentation crock. Sadly, as of August 2013 this company no longer makes crock pots. However a decent alternative is the Nik Schmitt 5 Liter crock pot. Check it out here: Nik Schmitt Fermenting Crock 10 Liter.
It has an ingenious water seal and comes with ceramic weights to keep the fermenting cabbage below the surface of the kraut juice that forms from the salt and cabbage mixture. I would use the Grandma Florence crock pot but it cracked a while back, so it is relegated to a role as a flower pot. I’m glad it still found a use.
When I first started fermenting, I made some very nice batches using simply a 2 liter mason jar. When oxygen is allowed to contact the top of the liquid, mold can form. Simply spoon this off to keep the top of the liquid clean. There are also some clever water seals that fit a largemouth mason jar to keep air away from the top of the liquid. You can see these in the demonstration video that features Karla. (check out here).
Depending on the temperature, the Kraut will be fermented in two to six weeks. The longer you allow fermentation, the more sour the sauerkraut becomes. You can store the finished sauerkraut in the fermentation crock, or transfer it to jars. Store the crock in a root cellar at 55°F. You can keep jars in the refrigerator for months and months.
Once you have mastered the basic sauerkraut, you can try adding other things like dulse (a type of seaweed), carrots, beets, garlic and juniper berries. Add caraway seeds, dill seeds, or salary seeds with the sea salt to add different flavors.
So simple and so good.
Got any sauerkraut recipes? Please share them with us. We are always on the look out for good things like this. Or try the recipe above and share your fabulous sauerkraut tale.
Until then – take good care of your wellness.
To your health.
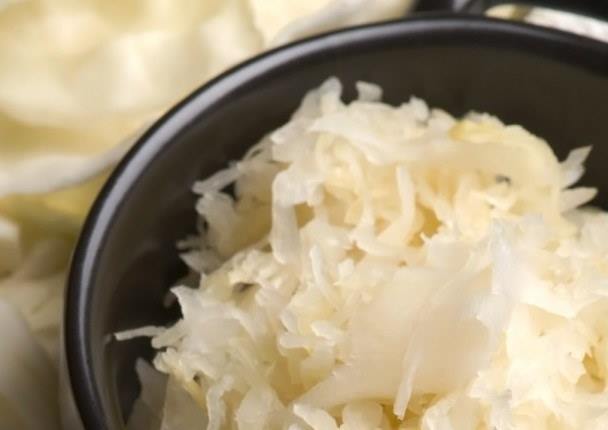
Image courtesy of © Can Stock Photo Inc. / sierpniowka